White-labelled single-page application
Perhaps you have an application, say a checkout page, that you would like to white-label, so that your users can fully integrate the application within their own application’s experience. The question you would want to ask is, “what are the factors you would want to control and the factors your user would want to control?”. Let us set some bounds for the scope of this and let’s assume that the application we are building is called Sleepwell, and our users are sleep therapists who each want their own profile page to share with their clients.
Scope #
- Assumes an existing multi-tenant system
- Provision a unique subdomain for each user (for example, https://user.sleepwell.com)
- Domain can be a custom domain that the user already has (for example, https://user.com)
- User information and branding, which will be the customisable fields
- AWS as the cloud provider
Modules #
As a single-page application, this app can serve millions of requests and also scale for any number of registered users. Let’s break this down into modules. 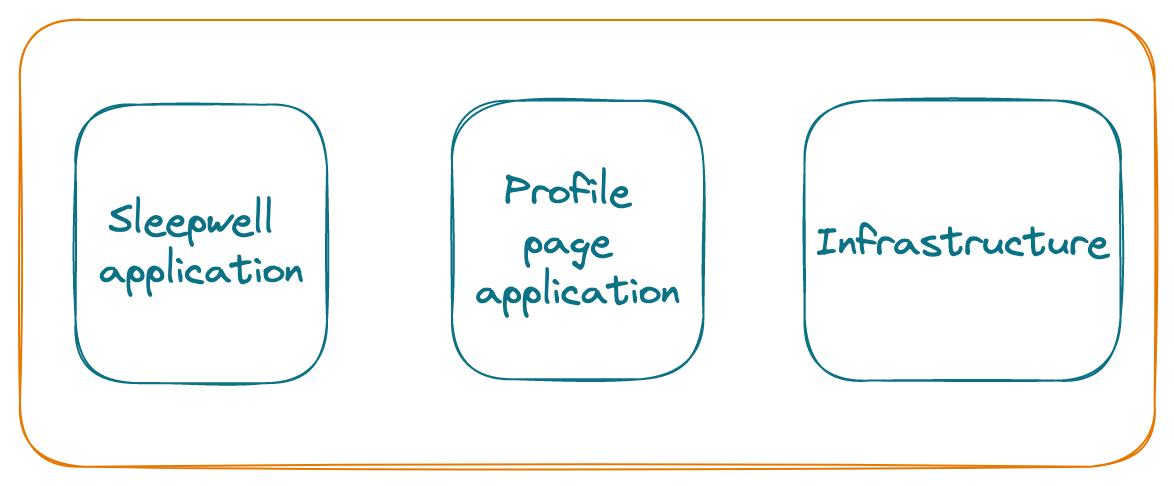
Sleepwell application #
The Sleepwell application is where the users are registered and can setup the profile page using the settings. Assuming that the user wants a no-code solution that can be up and running in a few minutes, we want to make the experience as friendly as possible. Let’s build a user-friendly settings page that allows setting the subdomain, and other branding settings like the fields that can be customised in the page.

Tenant config mapper #
The settings will be fetched and written to the tenant’s configuration. Assuming that the data store is a relational SQL database and that a tenant entity already exists, the schema for tenant_config would look roughly like this
id: auto string(256)
tenant_id: fk_reference to tenant entity
domain: string(256)
subdomain: string(256)
other_fields: etc
Ensure that the domain and sub-domain fields are indexed, since the lookup would be performed on these fields later.
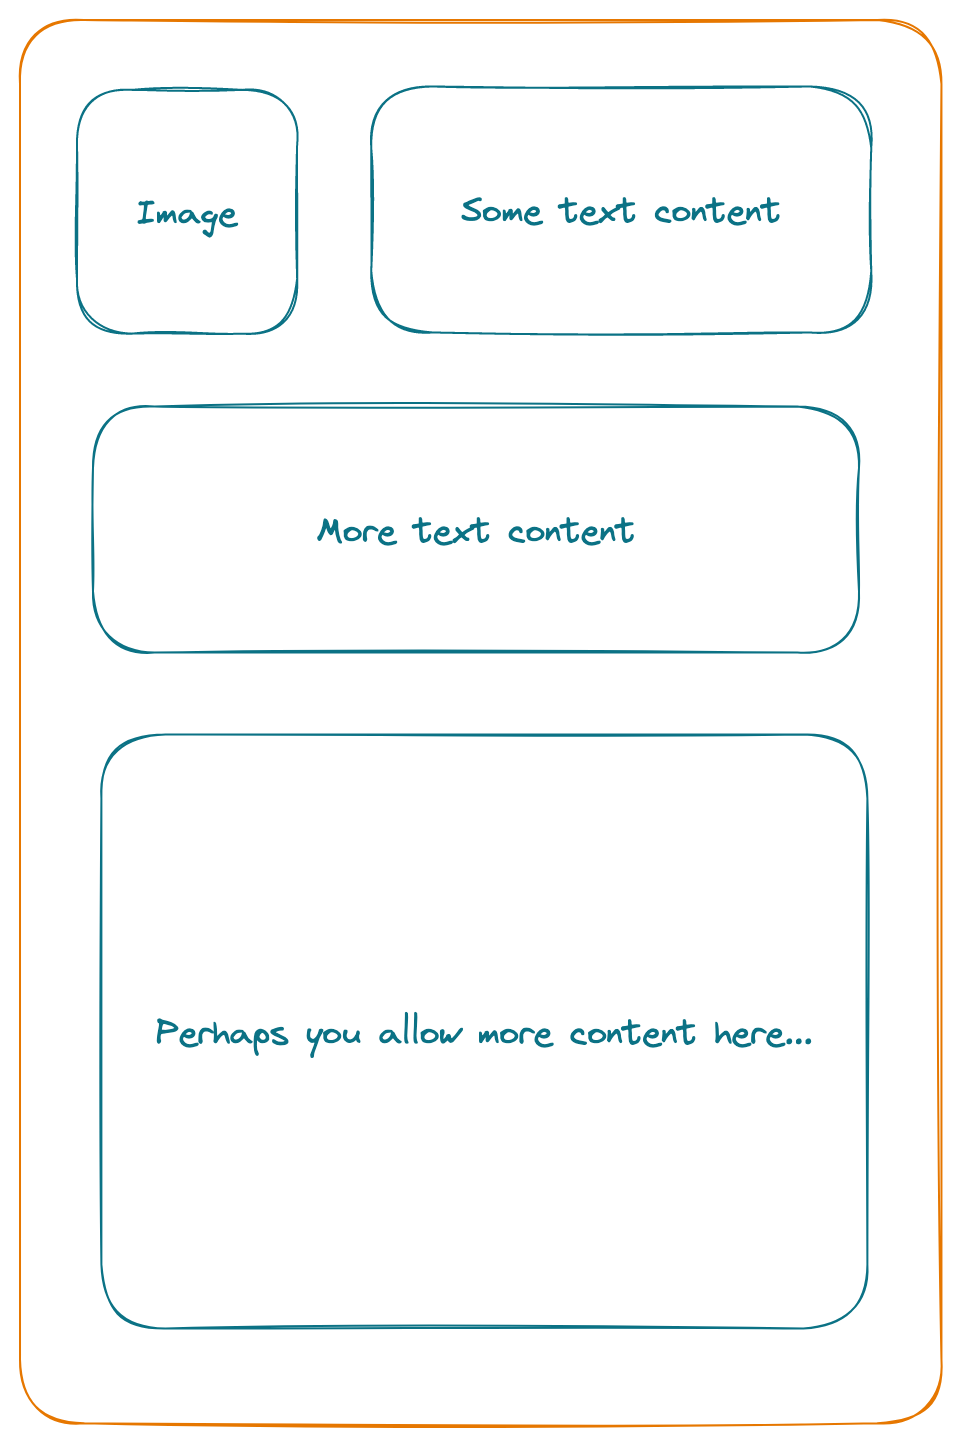
Profile page application #

The profile page application has to respond to the configuration settings from the Sleepwell application.
Host name parser #
The host name will be parsed from the URL so that it can be fed to the Tenant Identifier. This will need to handle both the cases of the subdomain as well the domain. Parse only the hostname from the URL as
url.hostname //user.sleepwell.com
Tenant identification #
Pass the hostname to the Tenant Identifier to fetch the configuration for this tenant. This will perform a lookup on the configuration table by performing
- a first pass match against the domain
- a second pass match against the sub-domain
If either of these match, fetch and return the configuration for this tenant.
Tenant configuration renderer #
Pass the tenant configuration fetched from the Tenant Identifier to the renderer. The renderer will control the customisable fields on the profile page application that will now be populated from the fetched configuration.
Infrastructure #
Now that we have set the stage for what’s being delivered to the user, here’s where the most interesting part comes in. We have established that we have a multi-tenant system architecture that doesn’t require any operational steps for each new user getting onboarded, and can easily scale. We also don’t want to manually intervene to setup a subdomain or a domain for each user. We’ll assume that AWS is the cloud provider here and we’ll leverage AWS Cloudfront’s wildcard subdomains capability for this.
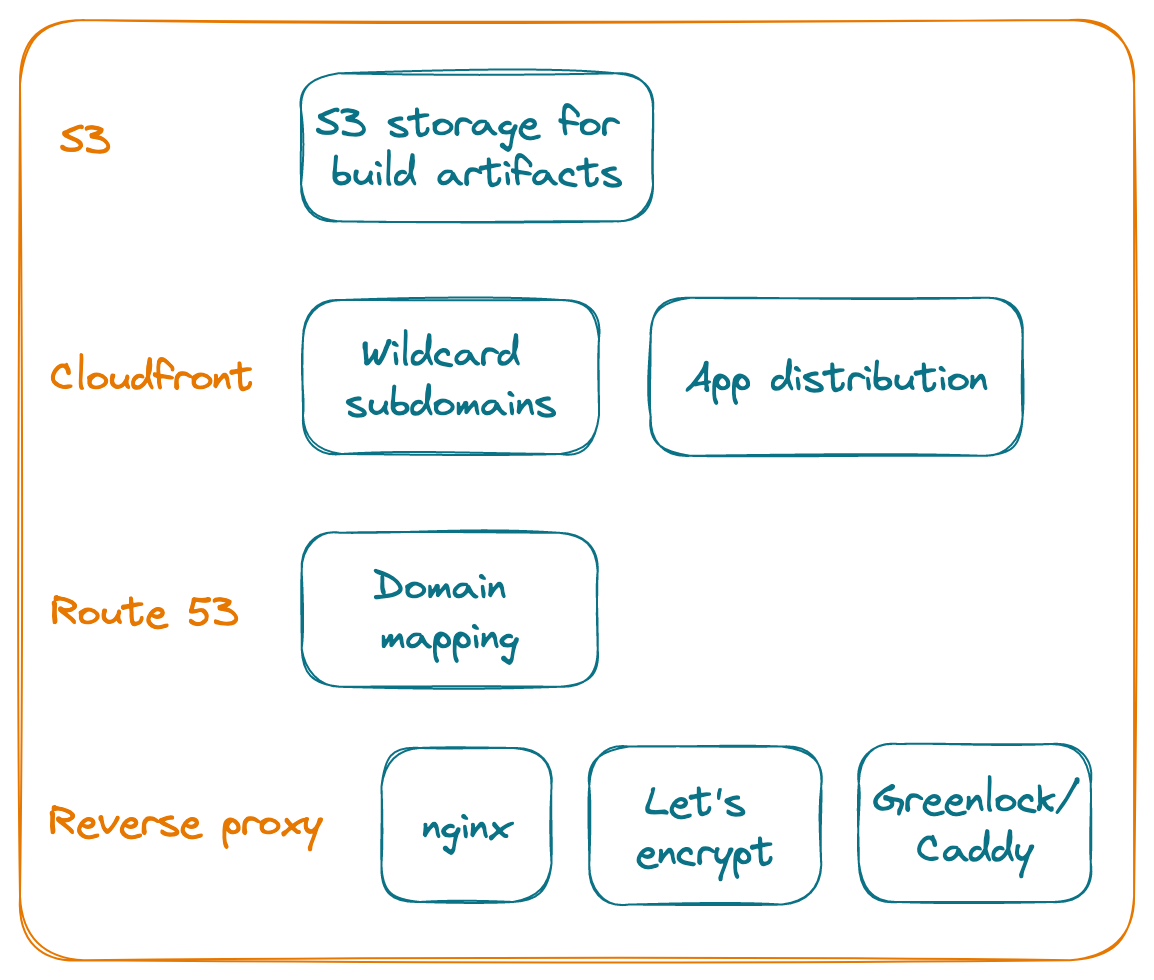
Build artifacts on S3 #
The build artifacts will be published to a S3 bucket, let’s name this sleepwell-builds.
Cloudfront #
AWS Cloudfront will be used for configuring the wildcard subdomains and app distribution. A single Cloudfront distribution pointing to the S3 bucket will ensure that the same application is being served for all the subdomains. The application’s Tenant Identifier will ensure that the configuration-based rendering is triggered and that the right page is served to the user.
Route 53 #
Create a wildcard CNAME record on Route 53.
*.sleepwell.com. CNAME somecloudfrontid.cloudfront.net.
Reverse proxy #
This step will be required to support the users with their own domains. A user’s own domain can be connected to their custom subdomain, via CNAME mapping in their DNS config. A wildcard SSL certificate can be applied to our wildcard CF distribution. Server blocks can be manually added in the reverse proxy layer, but we are looking for an elegant solution that can scale without any operational steps. This can be automated with LetsEncrypt & GreenLock(or Caddy or a similar solution), which will handle TLS termination.
Some references #
- How I set up SSL with Let’s Encrypt for my SaaS dashboard
- How We Generate SSL Certificates for Custom Domains using Let’s Encrypt
Variations and trade-offs #
There could potentially be a few variations of this use case on the infrastructure layer, each adding incremental complexity. The approach considered here offloads the tenant identification to the application, since the single-page app has only a few configurable fields. What if a different application has to be served for each user? Perhaps you have a no-code builder solution, that generates a different build for each user.
In this case, a different S3 bucket can be created programmatically for each user, of the format
s3.amazonaws.com/bucket-name/subdomain-name
To route the request to the right S3 bucket, we would need to add a proxy layer between the CloudFront distribution and S3, to put the host header from the HTTP request into the path.  (This proxy layer could either be an EC2 instance or a Lambda@Edge instance for a serverless approach.)
Let’s delve into more options here for more isolation between the tenants, if you don’t want to introduce a proxy layer, that could potentially become a single point of failure. Create a CloudFront distribution for each tenant, that maps to the appropriate S3 bucket. Since we want the solution to scale for multiple tenants without any manual intervention in onboarding, the CF creation can be programmatically created via AWS CLI. (There could be quota limits to the number of CF distributions per account.)